Laravel Breeze Install Step By Step Guide
Laravel Breeze is a simple and minimalist authentication package for Laravel from laravel team. Installing breeze is a simple and easy task inside laravel application. Laravel breeze gives a clean and simple starter kit for building authentication using Laravel easily. It includes several features like:
- Login
- Registration
- Password Reset
- Email Verification
Breeze is lightweight and doesn't provide additional features like roles and permissions or two-factor authentication system(though you can implement those features on top of it if it is necessary). It’s a great option if you want a straightforward authentication system.
Installation of Laravel
If you haven't already created or installed a Laravel project, you can create a fresh Laravel project via Composer command from terminal:
composer create-project --prefer-dist laravel/laravel laravel-breeze-app
cd laravel-breeze-app
Install Laravel Breeze Package
To install laravel breeze you will have to run below command. After that, run the breeze:install command to publish the Breeze authentication scaffolding.
composer require laravel/breeze --dev
php artisan breeze:install
After installing breeze will publish below authentication scaffold and create
- Authentication routes (login, register, etc.)
- Controllers
- Blade views for the authentication pages
- Tailwind CSS for styling (by default)
Install Nodejs Dependencies
After installing Breeze, you'll need to install the required npm packages for front-end assets (which include Tailwind CSS, etc.):
npm install
npm run build
Database Migration
Now it's time to run the migrations to create the necessary database tables for the authentication system such as users, jobs etc.
php artisan migrate
Now serve the project using below command and you are good to go
php artisan serve
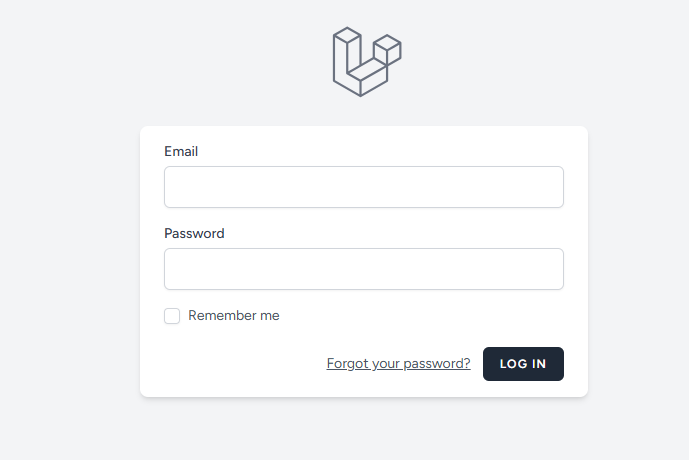
Test the Authentication
Now that everything is set up, you can access the authentication routes.
Registration: /register
Login: /login
Password Reset: /forgot-password
Email Verification: (If enabled in your .env file)
While Laravel Breeze provides a minimal and clean entry point, you may want to customize it to better fit your application's needs:
Views: The default views are located in resources/views/auth and resources/views/layouts. You can modify them to change the design.
Controllers: The authentication controllers are located in app/Http/Controllers/Auth. You can extend or modify them if you need custom logic.
Tailwind Configuration: Since Breeze uses Tailwind CSS as default, you can customize the Tailwind configuration by customizing tailwind.config.js.