Laravel 11 Intervention Image Upload
Laravel intervention is a popular image upload package or library to upload images in project easily. You can also do resize image while upload according to need. This article will guide you how to upload image by laravel intervention. Follow this blog and do carefully. Hope that, you will be succeeded.
Here we will do some steps
Install Fresh Laravel 11 Project
- Install Required intervention/image-laravel Composer Package
- Define Necessary Controller
- Define Routes
- Add Blade File
Install Fresh Laravel 11 Project
We will install fresh laravel 11 . For this run below command
composer create-project --prefer-dist laravel/laravel laravel11-image 11.*
cd laravel11-image
Install intervention/image-laravel Package
Now install required intervention/image-laravel composer package. To install run below command in terminal
composer require intervention/image-laravel
Define New Controller
To manage and upload image we make one controller. Inside this controller there we will be two methods. You can do using single method. In that case you will have to manage differently. For now we are using different method and different route. Also you should create directory manually at storage/app/public/images and storage/app/public/images/thumbnail
namespace App\Http\Controllers;

use Illuminate\Http\Request;
use Intervention\Image\Laravel\Facades\Image;
use Illuminate\Support\Facades\Storage;

class ImageUploadController extends Controller
{
    public function uploadForm()
    {
        return view('upload-form');
    }

    public function upload(Request $request)
    {
        $this->validate($request, [
            'image' => 'required|image|mimes:jpeg,png,jpg,gif,svg|max:3072',
        ]);

        $image = Image::read($request->file('image'));

        // Upload image to storage path.
        $imageName = time() . '-' . $request->file('image')->getClientOriginalName();
        $destinationPath = storage_path('app/public/images/');
        $image->save($destinationPath . $imageName);

        $thubnailPath = storage_path('app/public/images/thumbnail/'); //save thumbnail image
        $image->resize(150, 150);
        $image->save($thubnailPath . $imageName);


        return back()
            ->with('success', 'Image successfully uploaded')
            ->with('imageFileName', $imageName);
    }
}Define Routes
For uploading image we will define two routes. One for view page and other for accepting request.
use Illuminate\Support\Facades\Route;
use App\Http\Controllers\ImageUploadController;

Route::get('/upload', [ImageUploadController::class, 'uploadForm'])->name('uploadform');
Route::post('/upload-image', [ImageUploadController::class, 'upload'])->name('upload.image');
Define Blade File
For getting html output you need to define upload blade file at resources/views/upload-form.blade.php
<!DOCTYPE html>
<html lang="en">
<head>
<meta charset="UTF-8">
<meta name="viewport" content="width=device-width, initial-scale=1.0">
<title>Laravel 11 Intervention Image Upload with Resize</title>
<link href="https://cdn.jsdelivr.net/npm/[email protected]/dist/css/bootstrap.min.css" rel="stylesheet">
</head>
<body>
<div class="container mt-5">
<div class="card shadow-lg p-4">
<h2 class="text-center mb-4">Upload an Image</h2>
@if (session()->has('success'))
<p class="alert alert-success">{{ session()->get('success') }}</p>
@endif
<form id="uploadForm" action="{{ route('upload.image') }}" method="POST" enctype="multipart/form-data">
@csrf
<div class="mb-3 text-center">
<label for="imageUpload" class="form-label">Choose an Image</label>
<input type="file" class="form-control" id="imageUpload" name="image" required>
</div>
<div class="text-center">
<button type="submit" class="btn btn-primary">Upload</button>
</div>
</form>
<!-- Preview Uploaded Image -->
<div class="mt-4 text-center">
<img id="previewImage" src="#" class="img-fluid rounded d-none" width="300">
</div>
<!-- Success Message -->
<div id="uploadSuccess" class="alert alert-success mt-3 d-none"></div>
</div>
</div>
<script>
document.getElementById('imageUpload').addEventListener('change', function(event) {
let reader = new FileReader();
reader.onload = function() {
let img = document.getElementById('previewImage');
img.src = reader.result;
img.classList.remove('d-none');
}
reader.readAsDataURL(event.target.files[0]);
});
</script>
</body>
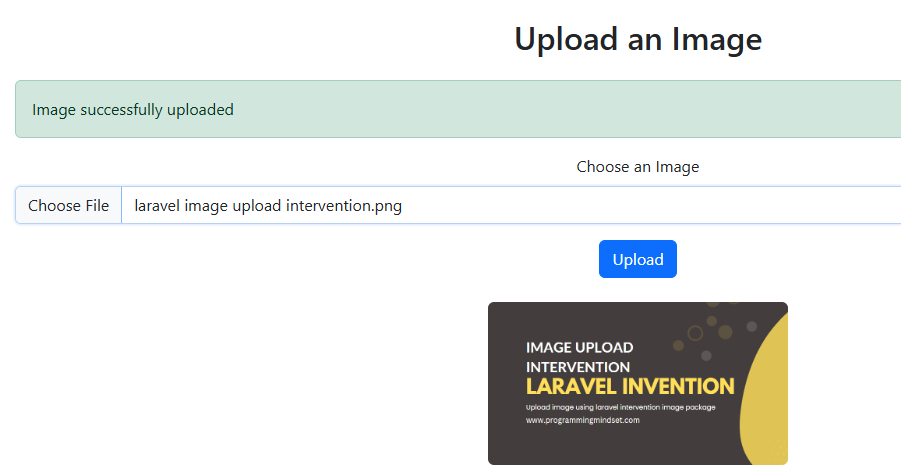
</html>Run Project and Upload Image
Here is the page for uploading image after running the project. You can run project by php artisan serve and access route in browser. This will local server and access route in browser.